Home Lab
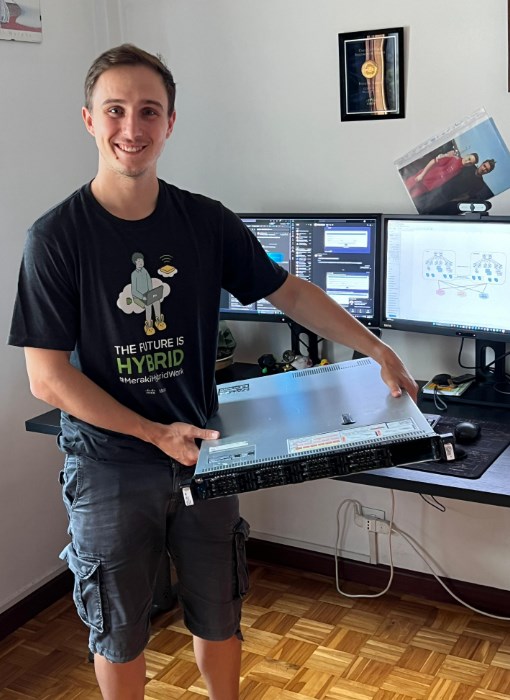
Ladies and gentlemen….this is the configuration of my home lab! 😊
Why a home lab?
Throughout my career, I have always collaborated with fellow systems engineers in order to allocate some resources for some labs in the test/laboratory server farm. Sometimes the relationship was good, sometimes not. I have some expertise on VMware and prefer to create/set up “my” virtual machines myself instead of “outsourcing” them to my colleagues. The same goes for port groups, datastores, and so on….
Then, I have been inspired by my first mentor who has a home server and helped me in the choice (thanks BGP
, you know 😉), he’s able to create as many topology as he wants, and me?
(Un)Fortunately, company policies were restrictive, so I was not allowed to perform many activities in the lab server farm…. I want to be independent, I want to create/destroy/change VM settings and resources as I want, I want to run VMs as long as I need to, I don’t want to find out that my VMs (with client demo data) have been turned off by someone else (human or script)… So, after much thought (just kidding) I decided to buy my own server.
Pros:
- Independence
- Learning new skills
- Learning new technologies
- Testing and testing and testing almost everything I am working with (except ACI…)
- Creating new content
Cons:
- Servers are expensive (but not second hand)
- Electricity bill (thanks to solar panel)
- Space and noise (thanks to garage/box)
Server: Dell or HP?
To be honest, the first idea was Cisco UCS…. but they are completely out of budget for me. So I started looking for alternatives and created a short list: DELL or HP?
I read about the differences, licensing and more…. is not my field, but when I read that finding/downloading the firmware update for DELL servers was easier than doing it with HP… I made my decision.
Is this correct? I don’t know and don’t care, I bought a DELL server from eBay so…. DELL is the best ahahahahah
Server Specs & Costs
Well, I’ll be short… the server arrived with:
Vendor: DELL
Model: R630 (10x SFF 2.5")
CPU: 2x E5-2690 V4 (14C and 28T each, total 28C and 56T)
RAM: 32GB DDR4 2400 MHz
PSU: 2x 750W
Storage: No Disks
Remote Access: iDRAC8 Enterprise
Then, I bought the following hardware to upgrade it:
RAM: 256GB DDR4 2400 MHz
Storage: 1x 256GB SSD for Hypervisor, 1x 2TB SSD for VMs
So, the final hardware specs are:
Vendor: DELL
Model: R630 (10x SFF 2.5")
CPU: 2x E5-2690 V4 (14C and 28T each, total 28C and 56T)
RAM: 288GB DDR4 2400 MHz
PSU: 2x 750W
Storage: 1x 256GB SSD for Hypervisor, 1x 2TB SSD for VMs
Remote Access: iDRAC8 Enterprise
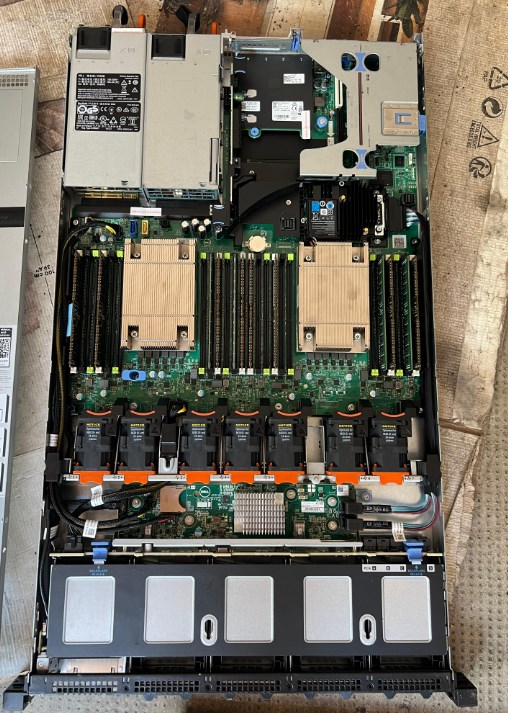
Here is some pics:
I know that you are curious… so here is the cost list:
- Server: 250€ + 40€ shipping cost = Total 290€ [eBay]
- Storage: 2x SSD = Total 151,39€ [Amazon]
- RAM: 279€ + 6,90€ shipping cost = Total 285,90 [eBay]
Total: 727,29€
My budget was 700€… It has been a little bit over budget but it’s ok
Firmware Upgrade
The first thing I did with my brand new server was to upgrade the firmware!
I am not a DELL/Server expert, I just followed the procedure and the guide I found on the DELL website, so here is my experience:
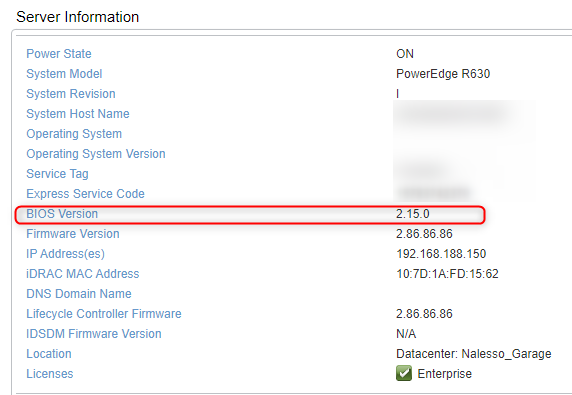
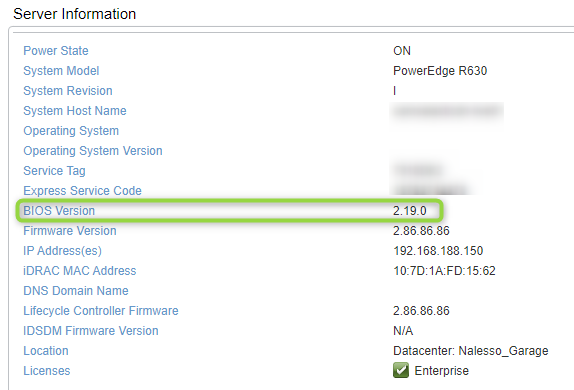
BIOS UPDATE
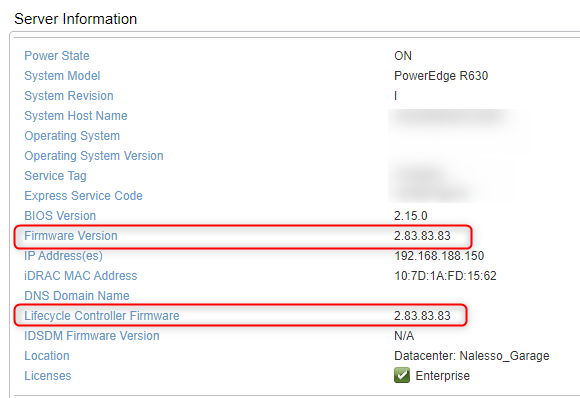
PRE
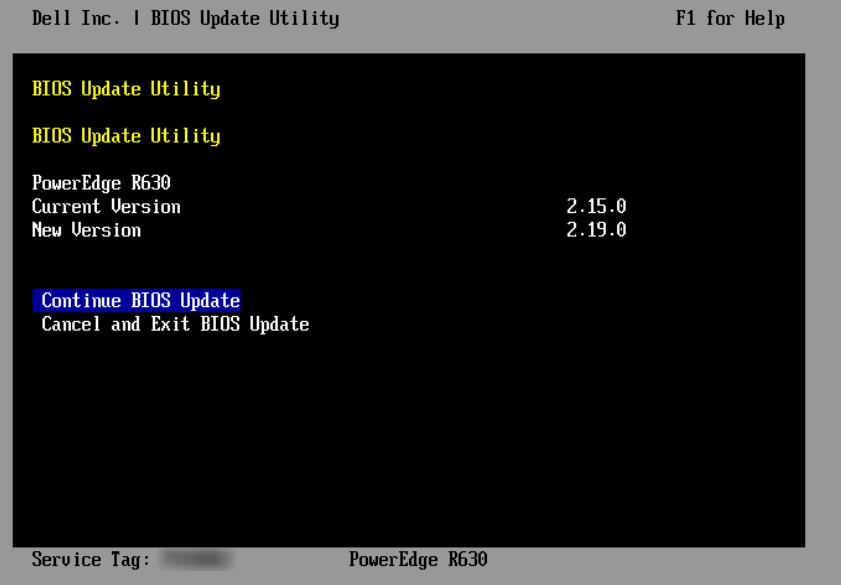
BIOS Version: 2.15.0
- Go to DELL Support page and put the server service tag
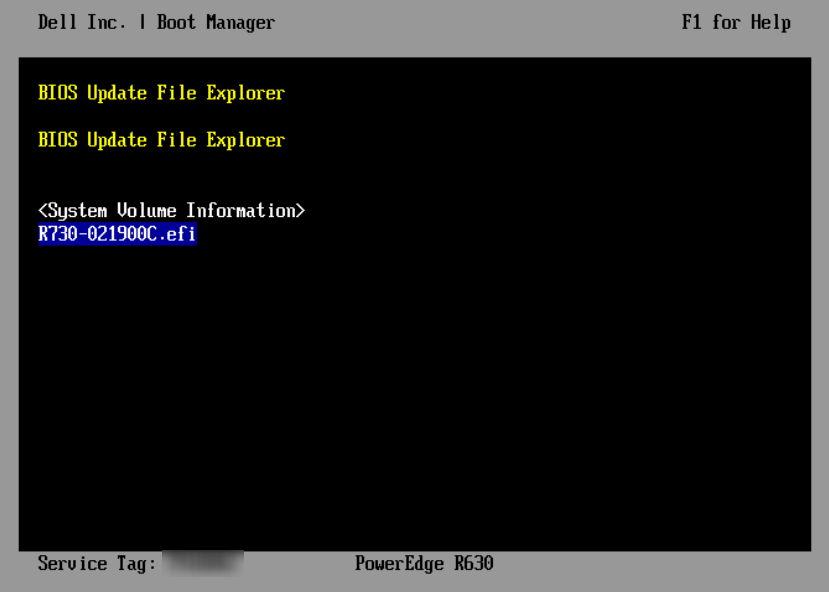
- Filter by BIOS and download the “.efi” extension file
- Copy the “.efi” file into a USB
- Connect the USB to the server
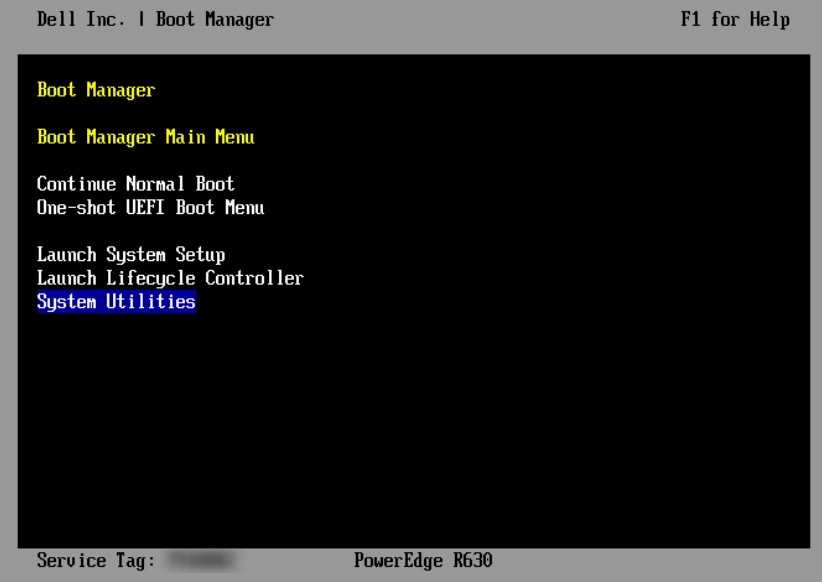
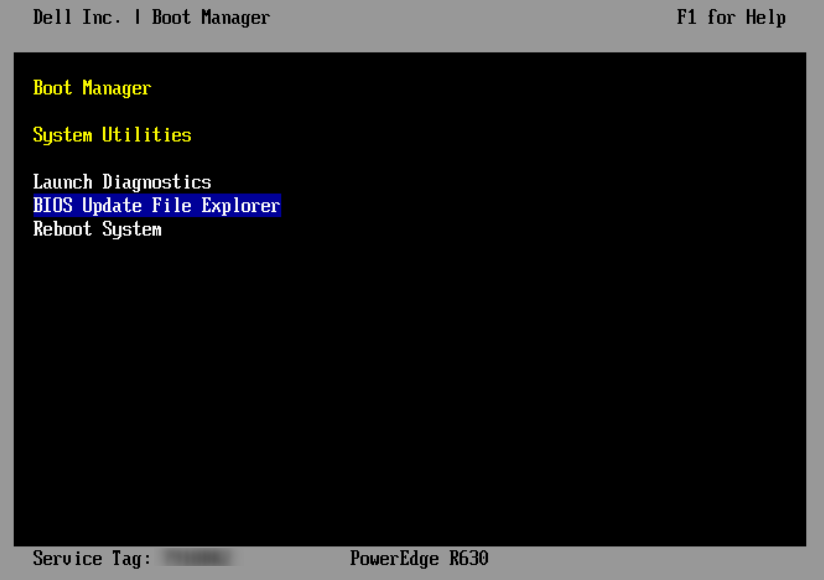
- Reboot the server the Press F11 during the boot to enter the “Boot Manager”
- Select “System Utilities”
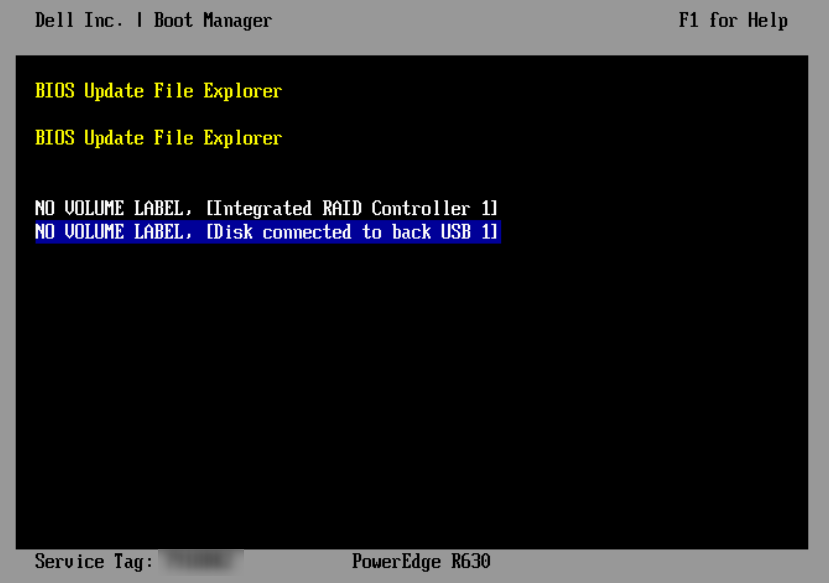
- Select “BIOS Update File Explorer”
- Select the USB Device
- Select the file name
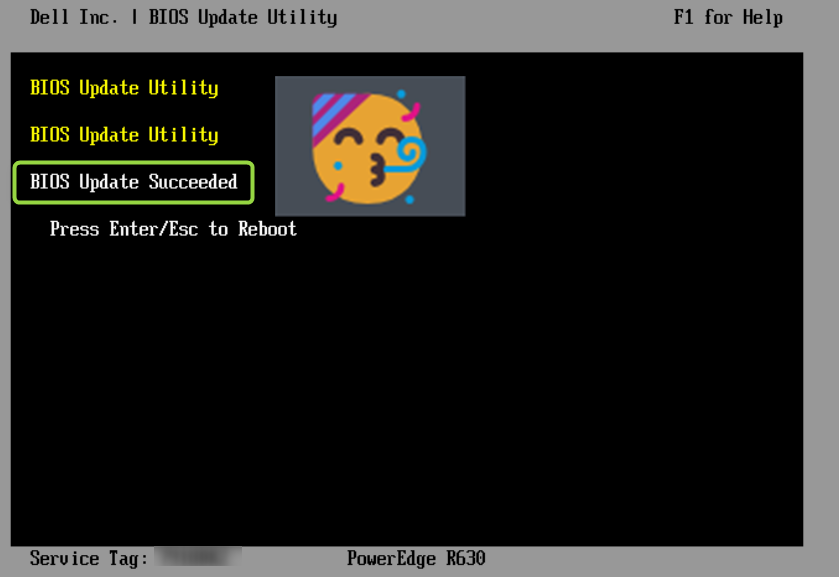
- Verify that the version is correct and Select “Continue BIOS Update”
- Take a coffe 😉
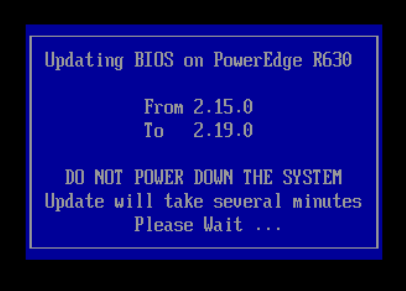
- Congrats! The BIOS has been updated!
iDRAC UPDATE
This one is apparently simpler than BIOS Update.
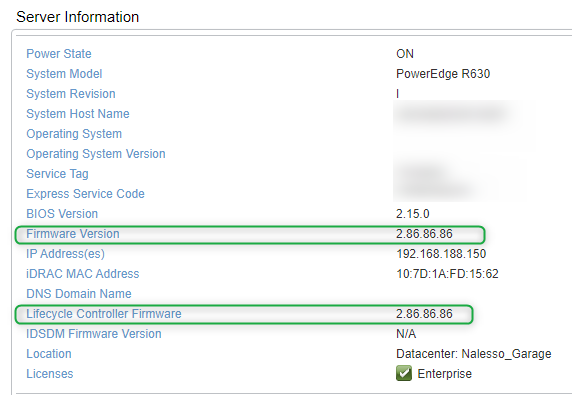
PRE
iDRAC Version: 2.15.0
- Go to DELL Support page and put the server service tag
- Filter by iDRAC and download the “.exe” extension file
- Lunch the iDRAC page and login
- Go to “Overview” -> “iDRAC Setting” -> “Update and Rollback”
- Select “Local” and then select and upload the “.exe” file downloaded at step 2.
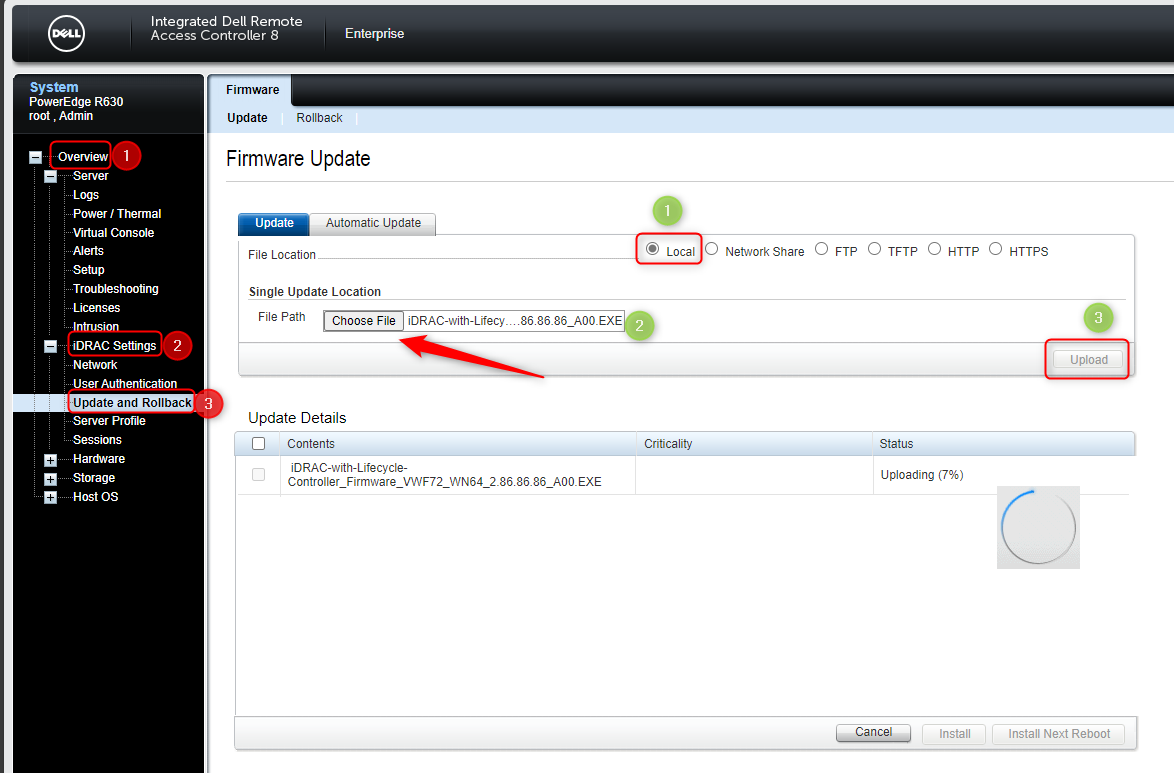
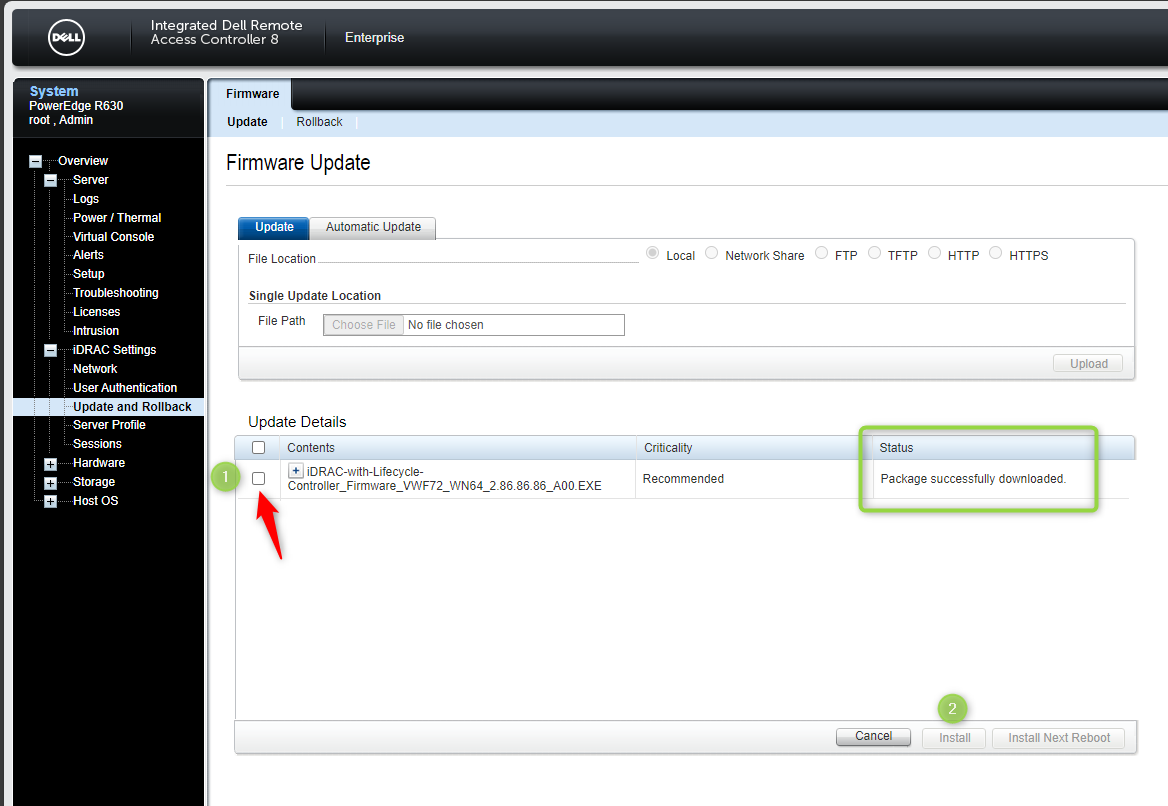
- Wait some minutes to complete the upload phase
- Under “Upload Details” select the update package and then click on “Install”
- Take a coffe 😉
- Congrats! The iDRAC has been updated!
Hypervisor & Virtual Machines
After Broadcom acquired VMware, they cancelled the free version of ESXi… So I decided to go ahead with another hypervisor called ProxMox
.
To be honest, I am not an expert on ProxMox and I am learning how to manage it day by day…like the famous “training on the job” that we all have done at least once in our careers 😉
Actually, I installed a simple Ubuntu server to play and eve-ng (community edition) . I am still thinking which software to buy between Cisco Modeling Labs and eve-ng PRO , the cost is almost the same. Do you have any suggestions?
Thanks for your time I hope that you’re enjoying my blog!
If you have some questions, please drop me a message through social networks!😊
👈 You can find the relative icons here on the left of the page
Riccardo