Cisco ACI - Deployment With Terraform - Advanced
Hello and welcome back to my blog! In this post we’ll see how to automate your Cisco ACI deployment using Terraform 😊
If you didn’t read the previous blog post, I strongly recommend you to check it out in order to understand better this post. In the “Cisco ACI - Deployment with Terraform - Basic” post I introduced Terraform and showed you how to create a basic Tenant with 1 VRF, 1 Application Profile, 1 EPG and 1 BD using Terraform.
Let’s scale it! 😉
Tools
In this lab I’m using:
- Visual Studio
- WSL (Windows Subsystem for Linux, it allows you to install a complete Ubuntu terminal environment in minutes on your Windows machine)
- Cisco ACI Sandbox
Tenant
In this post we’re going to create a single Tenant with the following objects:
- Tenant: THETECHGUY
- VRF1: PROD_VRF
- VRF2: DEMO_VRF
- Application Profile1: PROD_APP
- Application Profile2: DEMO_APP
- EndPoint Group1: PROD_EPG1
- EndPoint Group2: PROD_EPG2
- EndPoint Group3: PROD_EPG3
- EndPoint Group4: DEMO_EPG1
- Bridge Domain1: PROD_BD
- Bridge Domain2: DEMO_BD
- Bridge Domain PROD Subnet: 192.168.100.254/24
- Bridge Domain DEMO Subnet: 192.168.200.254/24
Moreover, we’ll create the following Access Policies:
- VLAN Pool: Physical_VLAN-Pool
- VLAN Pool range: From VLAN-2 to VLAN-100 [static allocation]
- Physical Domain: Physical_Dom
- Attachable Access Entity Profile: Physical_AAEP
Obviously you can choose different names 😊
The Cisco ACI sandbox is available here:
- URL: https://sandboxapicdc.cisco.com
- username: admin
- password: !v3G@!4@Y
With all these information, we can proceed with our lab.
Coding
If you are new to Terraform and its structure, I strongly recommend you to read my previous post called “Cisco ACI - Deployment with Terraform - Basic”
, here you can find some useful information.
As always, here is the Cisco ACI Provider documentation
for other customizations and ideas.
Let’s start! 😊
First, create three different files:
- “main.tf”: Here is where our code is located
- “variables.tf”: Here is where our variables are declared
- “terraform.tfvars”: Here is where our variables are defined
Let’s review the variable.tf file:
# Local variables
locals {
    username = "admin"
    password = "!v3G@!4@Y"
    url = "https://sandboxapicdc.cisco.com"
    phy_domain = "PHY_DOM_TECH"
    tenant = "THETECHGUY"
}

# EndPoint Group Map
variable "epg_map" {
    type = map (object( {
        bd = string
        app = string
    }
    ))
}

# Bridge Domain Map
variable "bd_map" {
    type = map (object( {
        bd_subnet = string
        vrf = string
    }
    ))
}

# Application Profile Set
variable "app_set" {
    type = set (string)
}

# VRF Set
variable "vrf_set" {
    type = set (string)
}
As you can see, there are 5 different “blocks”:
- “locals” ➡ here you can store the local variables in order to hide them from the main.tf file (it’s more secure)
- “epg_map” ➡ This is the EPG Map, here we’re going to defined the BD and Application Profile for each EPG (into “variables.tf”)
- “bd_map” ➡ This is the BD Map, here we’re going to defined the BD Subnet and VRF for each BD (into “variables.tf”)
- “app_set” ➡ This is the Application Profile Set, here we’re going to put all the Application Profiles that have to be created (into “variables.tf”)
- “vrf_set” ➡ This is the VRF Set, here we’re going to put all the VRFs that have to be created (into “variables.tf”)
Let’s review the terraform.tfvars file:
# Bridge Domain Map
bd_map = {
    "PROD_BD" = {
        bd_subnet = "192.168.100.254/24"
        vrf = "PROD_VRF"
    }
    "DEMO_BD" = {
        bd_subnet = "192.168.200.254/24"
        vrf = "DEMO_VRF"
    }
}

# EndPoint Group Map
epg_map = {
    "PROD_EPG1" = {
        bd = "PROD_BD"
        app = "PROD_APP"
    }
    "PROD_EPG2" = {
        bd = "PROD_BD"
        app = "PROD_APP"
    }
    "PROD_EPG3" = {
        bd = "PROD_BD"
        app = "PROD_APP"
    }
    "DEMO_EPG1" = {
        bd = "DEMO_BD"
        app = "DEMO_APP"
    }
}

# Application Profile Set
app_set = [
    "PROD_APP",
    "DEMO_APP"
]

# VRF Set
vrf_set = [
    "PROD_VRF",
    "DEMO_VRF"
]
It’s important to understand the differences between a Map and a Set:
- map: are a collection of string keys and string values. There is always a “Key” and one or more “Value” associated to the key. Let’s see the EPG Map, here is a piece of map:
"PROD_EPG1" = {
    bd = "PROD_BD"
    app = "PROD_APP"
}
The “PROD_EPG1” is the Key, “PROD_BD” and “PROD_APP” are the values (respectively “bd” and “app”).
- set: a collection of unique values that do not have any secondary identifiers or ordering.
vrf_set = [
    "PROD_VRF",
    "DEMO_VRF"
]
The “vrf_set” is the name of the set, “PROD_VRF” and “DEMO_VRF” are the string values inside it.
Let’s review the main.tf file:
# Provider Declaration
terraform {
  required_providers {
    aci = {
      source = "ciscodevnet/aci"
    }
  }
}

# Provider Configuration
provider "aci" {
  username = local.username
  password = local.password
  url = local.url
}

# Tenant
resource "aci_tenant" "prod-tenant" {
  name = local.tenant
  description = "Production Tenant"
}

# VRF
resource "aci_vrf" "prod-vrf" {
  tenant_dn  = aci_tenant.prod-tenant.id
  for_each = var.vrf_set
  name = each.value
  ip_data_plane_learning = "enabled"
  knw_mcast_act = "permit"
  pc_enf_dir = "ingress"
  pc_enf_pref = "enforced"
}

# Application Profile
resource "aci_application_profile" "prod-app" {
  for_each = var.app_set
  name = each.value
  tenant_dn = aci_tenant.prod-tenant.id
}

# EPGx LOOP EXTERNAL VARIABLES
resource "aci_application_epg" "prod-epg" {
  for_each = var.epg_map
  name = each.key
  relation_fv_rs_bd = aci_bridge_domain.prod-bd[each.value.bd].id
  application_profile_dn = aci_application_profile.prod-app[each.value.app].id
  pc_enf_pref = "unenforced"
  pref_gr_memb = "include"
  prio = "unspecified"
}

# BDx LOOP EXTERNAL VARIABLES
resource "aci_bridge_domain" "prod-bd" {
  for_each = var.bd_map
  name = each.key
  arp_flood = "yes"
  unicast_route = "yes"
  unk_mac_ucast_act = "flood"
  relation_fv_rs_ctx = aci_vrf.prod-vrf[each.value.vrf].id
  tenant_dn  = aci_tenant.prod-tenant.id
}

# Subnet
resource "aci_subnet" "prod-bdsubnet" {
  for_each = var.bd_map
  ip = each.value.bd_subnet
  parent_dn = aci_bridge_domain.prod-bd[each.key].id
  scope = [ "public" ]
  ctrl = ["unspecified"]
}

# Physical Domain
# Pay attention that the Physical Domain created does not have any VLAN Pool associated.
resource "aci_physical_domain" "prod-domain" {
  name  = local.phy_domain
}

# EPG to Domain
resource "aci_epg_to_domain" "prod-epg_to_domain" {
  for_each = var.epg_map
  application_epg_dn = aci_application_epg.prod-epg[each.key].id
  tdn = aci_physical_domain.prod-domain.id
}

# VLAN Pool
resource "aci_vlan_pool" "Physical_VLAN-Pool" {
  name = "Physical_VLAN-Pool"
  alloc_mode = "static"
}
resource "aci_ranges" "prod-vlanpool-range" {
  vlan_pool_dn = aci_vlan_pool.Physical_VLAN-Pool.id
  from = "vlan-2"
  to = "vlan-1000"
  alloc_mode = "static"
}

# Physical Domain
resource "aci_physical_domain" "Physical_Dom" {
  name = "Physical_Dom"
  relation_infra_rs_vlan_ns = aci_vlan_pool.Physical_VLAN-Pool.id
}

# AAEP
resource "aci_attachable_access_entity_profile" "Physical_AAEP" {
  name = "Physical_AAEP"
}

# AAEP and Domain Association
resource "aci_aaep_to_domain" "aaep_to_domain" {
  attachable_access_entity_profile_dn = aci_attachable_access_entity_profile.Physical_AAEP.id
  domain_dn = aci_physical_domain.Physical_Dom.id
}
Let’s review how “set” has been used in our code:
# VRF
resource "aci_vrf" "prod-vrf" {
  tenant_dn  = aci_tenant.prod-tenant.id
  for_each = var.vrf_set
  name = each.value
}
We called the “vrf_set” by using the command “for_each = var.vrf_set”.
“vrf_set” is composed by 2 different VRFs: DEMO_VRF and PROD_VRF:
vrf_set = [
    "PROD_VRF",
    "DEMO_VRF"
]
The resource will iterate the set values and create both VRFs.
Let’s review how “map” has been used in our code:
# EPGx LOOP EXTERNAL VARIABLES
resource "aci_application_epg" "prod-epg" {
  for_each = var.epg_map
  name = each.key
  relation_fv_rs_bd = aci_bridge_domain.prod-bd[each.value.bd].id
  application_profile_dn = aci_application_profile.prod-app[each.value.app].id
  pc_enf_pref = "unenforced"
  pref_gr_memb = "include"
  prio = "unspecified"
}
We called the “epg_map” by using the command “for_each = var.epg_map”.
“epg_map” is composed by several keys that contain several values:
epg_map = {
    "PROD_EPG1" = {
        bd = "PROD_BD"
        app = "PROD_APP"
    }
    "PROD_EPG2" = {
        bd = "PROD_BD"
        app = "PROD_APP"
    }
    "PROD_EPG3" = {
        bd = "PROD_BD"
        app = "PROD_APP"
    }
    "DEMO_EPG1" = {
        bd = "DEMO_BD"
        app = "DEMO_APP"
    }
}
The name of the EPG in the resource match the “epg_map” Key values:
name = each.key
The name of the BD and Application Profile that are associated to the EPG are specified by using:
relation_fv_rs_bd = aci_bridge_domain.prod-bd[each.value.bd].id
application_profile_dn = aci_application_profile.prod-app[each.value.app].id
It matches the value called “bd” and the value called “app” in the “epg_map”.
Perfect! Now that we prepared our code, we can run it:
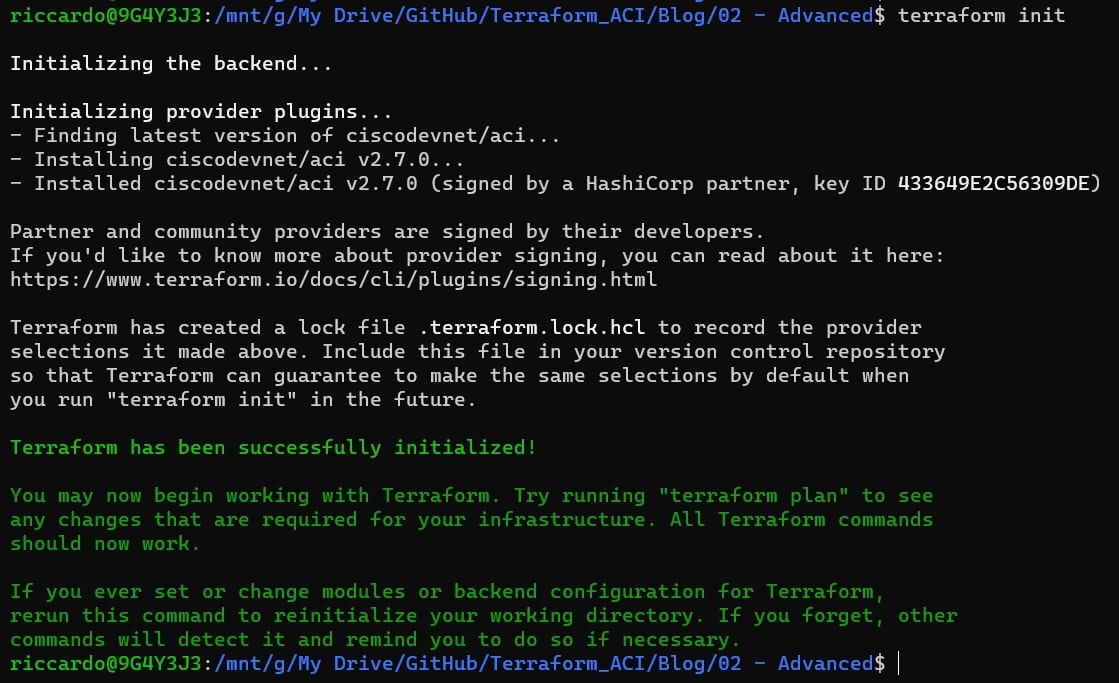
terraform init
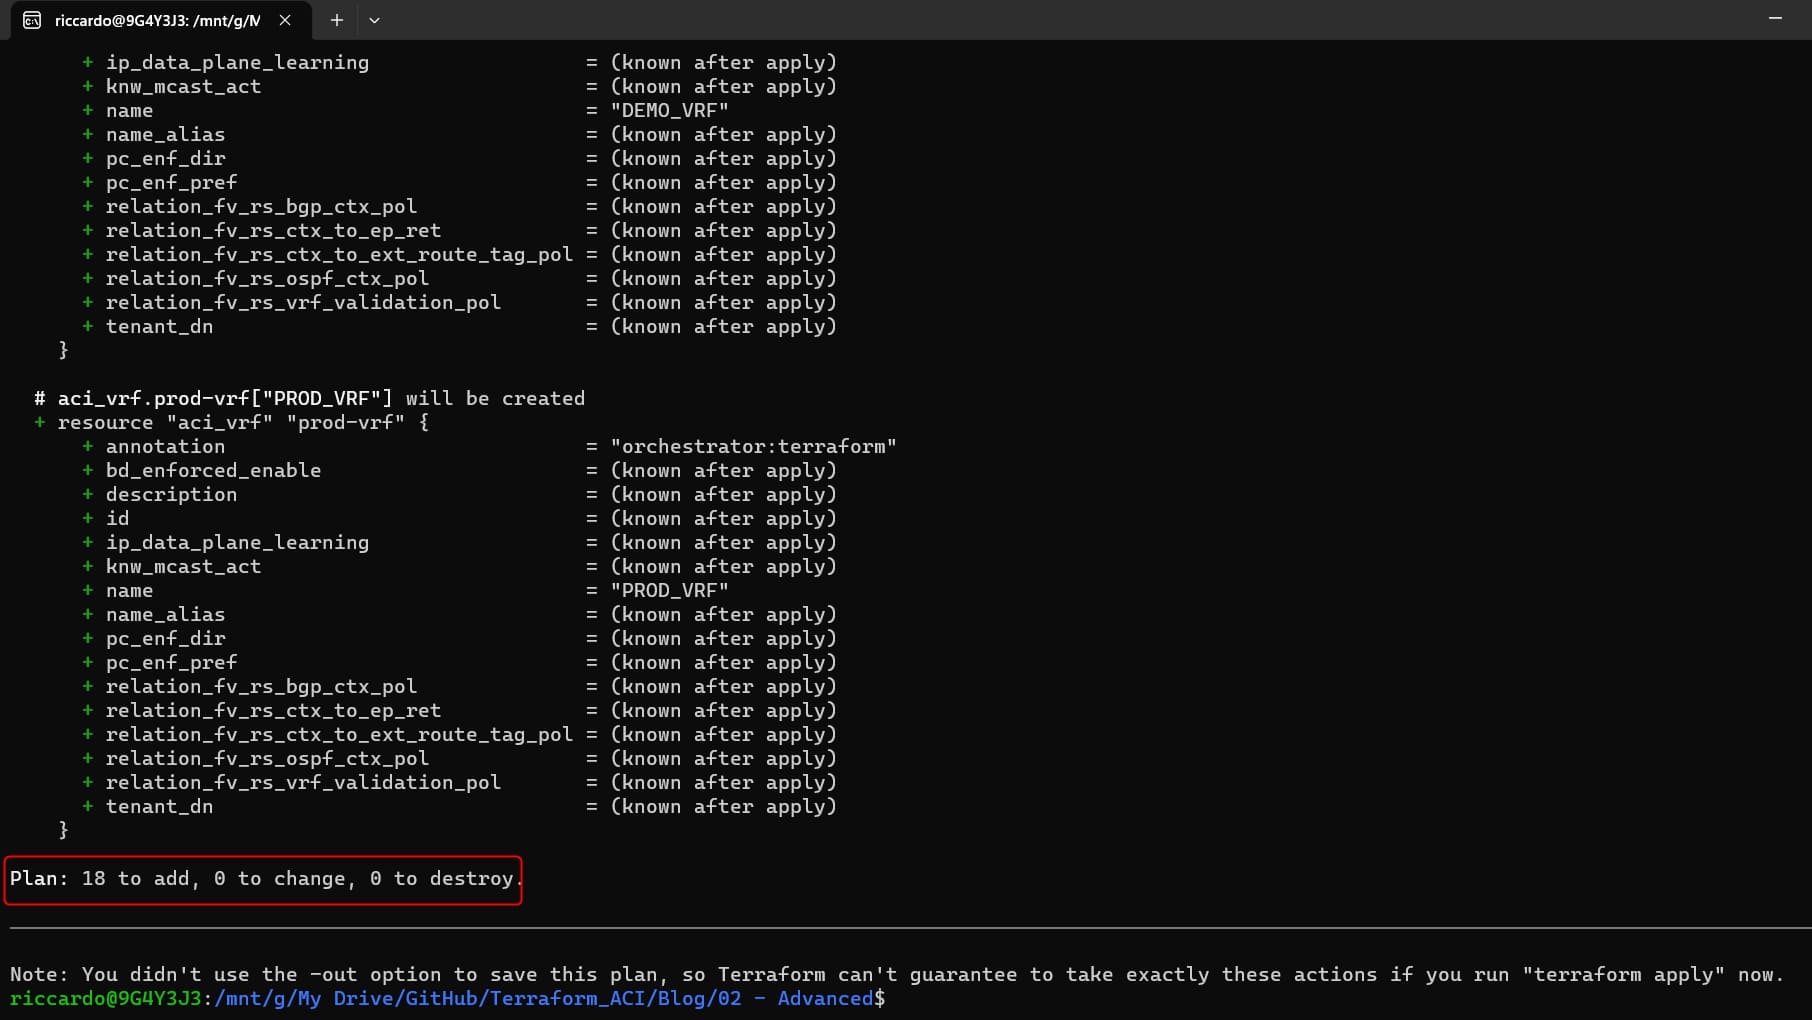
terraform plan
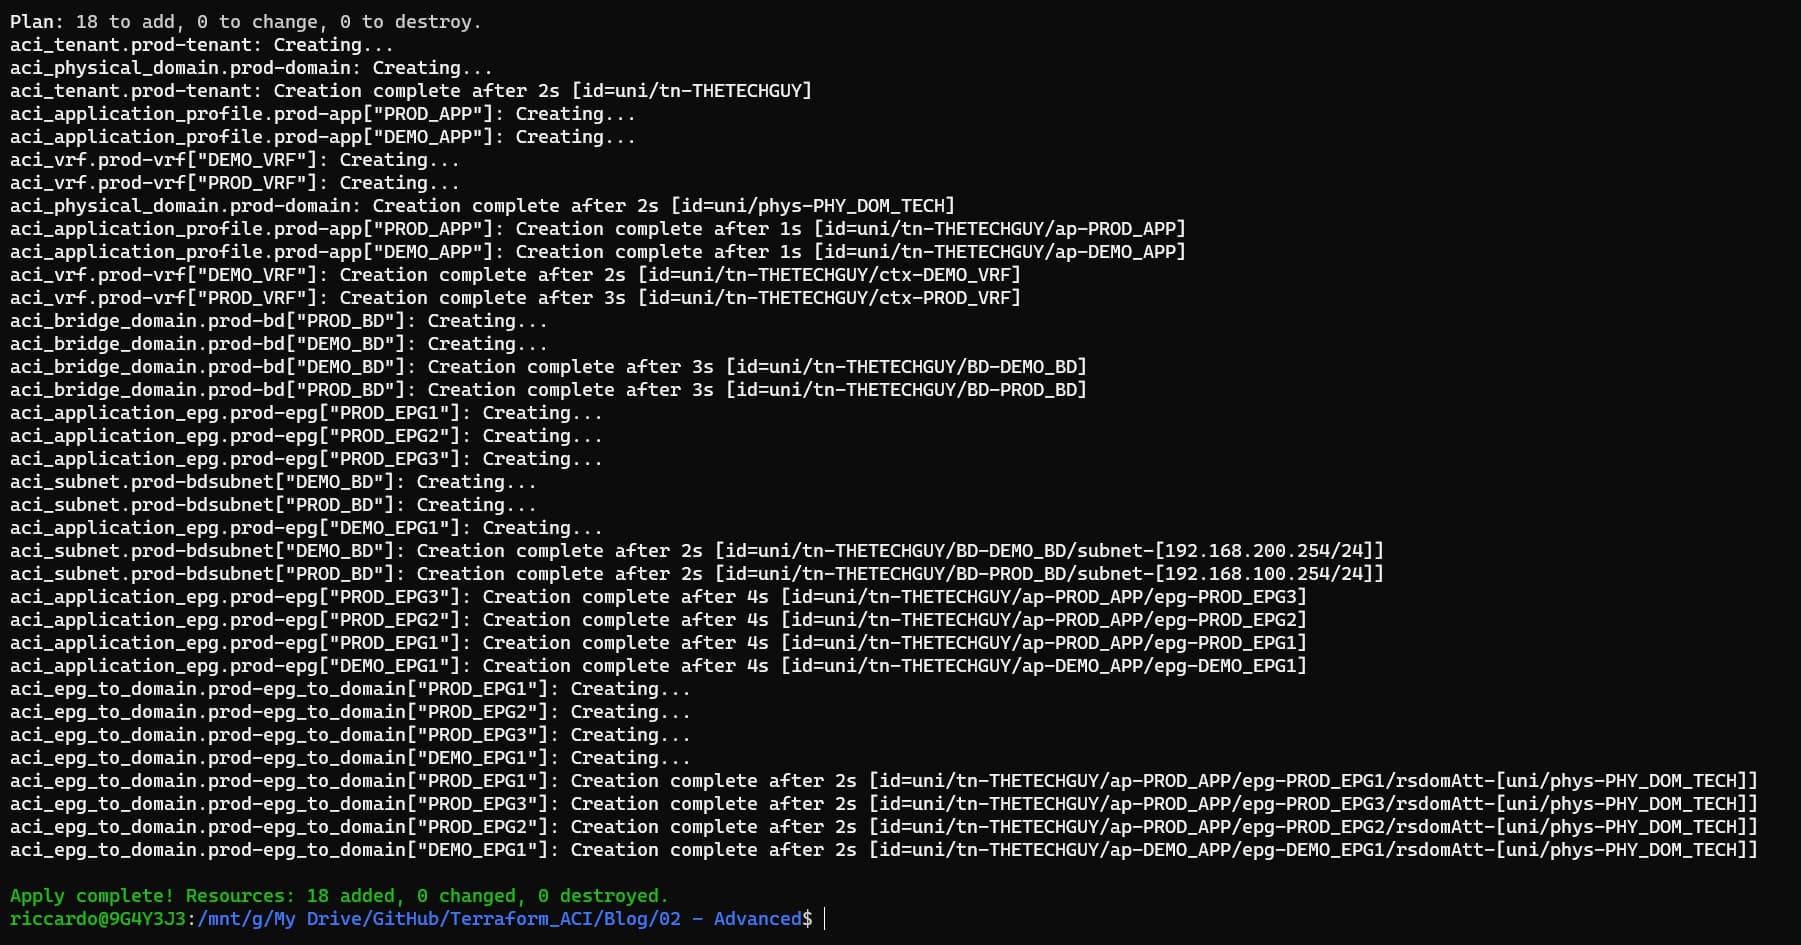
terraform apply -auto-approve
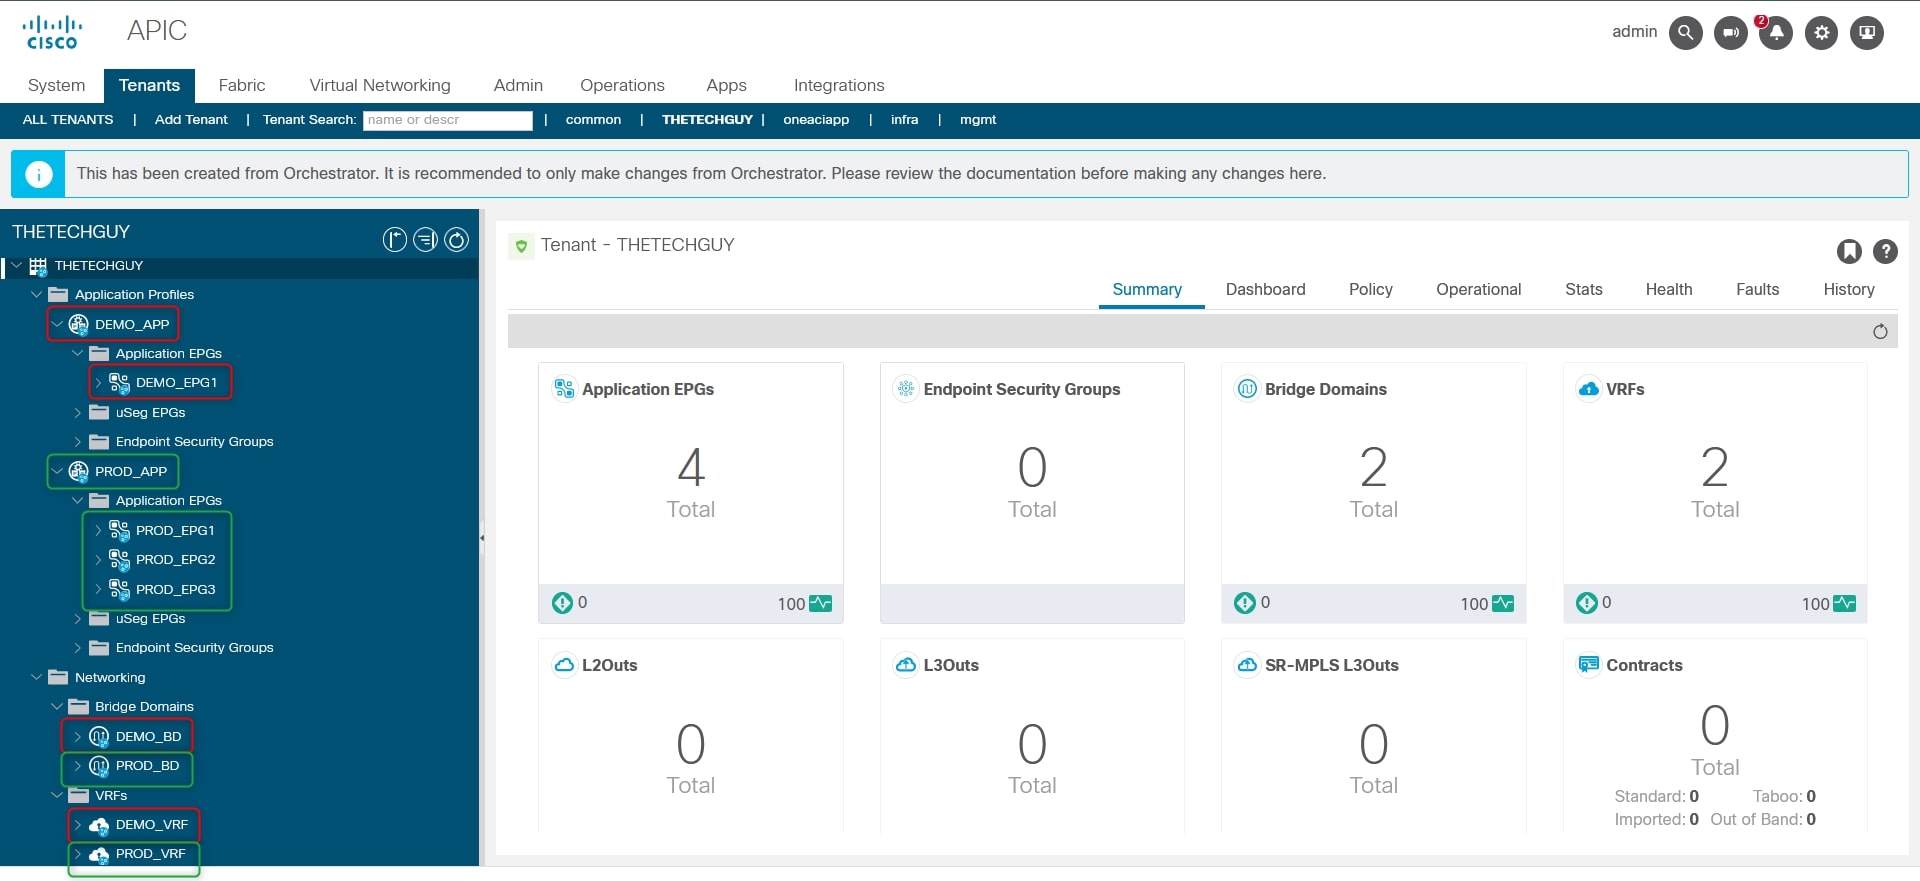
Here is the GUI output from Tenant tab:

Now that you learn how to scale you Cisco ACI fabric, good luck and enjoy your free time! 😉
Here is my GitHub page with this example
Here is my GitHub page for Terraform (WIP)
DISCLAIMER
I take no responsibility for any damage you may do running the scripts I provide here. Use it at your own risk, always test before running in production.
Thanks for your time I hope that you’re enjoying my blog!
If you have some questions, please drop me a message through social networks!😊
👈 You can find the relative icons here on the left of the page
Riccardo